Table of Contents
Archived post - content may be outdate
Third part of a series
building the foundation - part 1 &
adding your own data - part 2 &
adding a chat history - part 3
were published before
Motivation
You can deploy your model to Power Virtual Agents directly from Azure OpenAI Studio, allowing you to provide conversational experiences across various Microsoft Teams, websites, Power Platform solutions, Dynamics 365 Customer Service, and other Azure Bot Service channels. Power Virtual Agents serve as a conversational and generative AI platform, simplifying the process of creating, publishing, and deploying a bot to any number of channels.
Although Power Virtual Agents offer features that utilize Azure OpenAI, such as generative answers, deploying a model based on your data enables you to create a chatbot that responds using your information and connects it to the Power Platform. The tenant used in the Azure OpenAI service and Power Platform should be the same.
Create a new Power Virtual Agents bot
In the same way, we added data to our “ownGPT” we will create the link to a new Power Virtual Agents bot.
-
Go to Azure OpenAI Playground
-
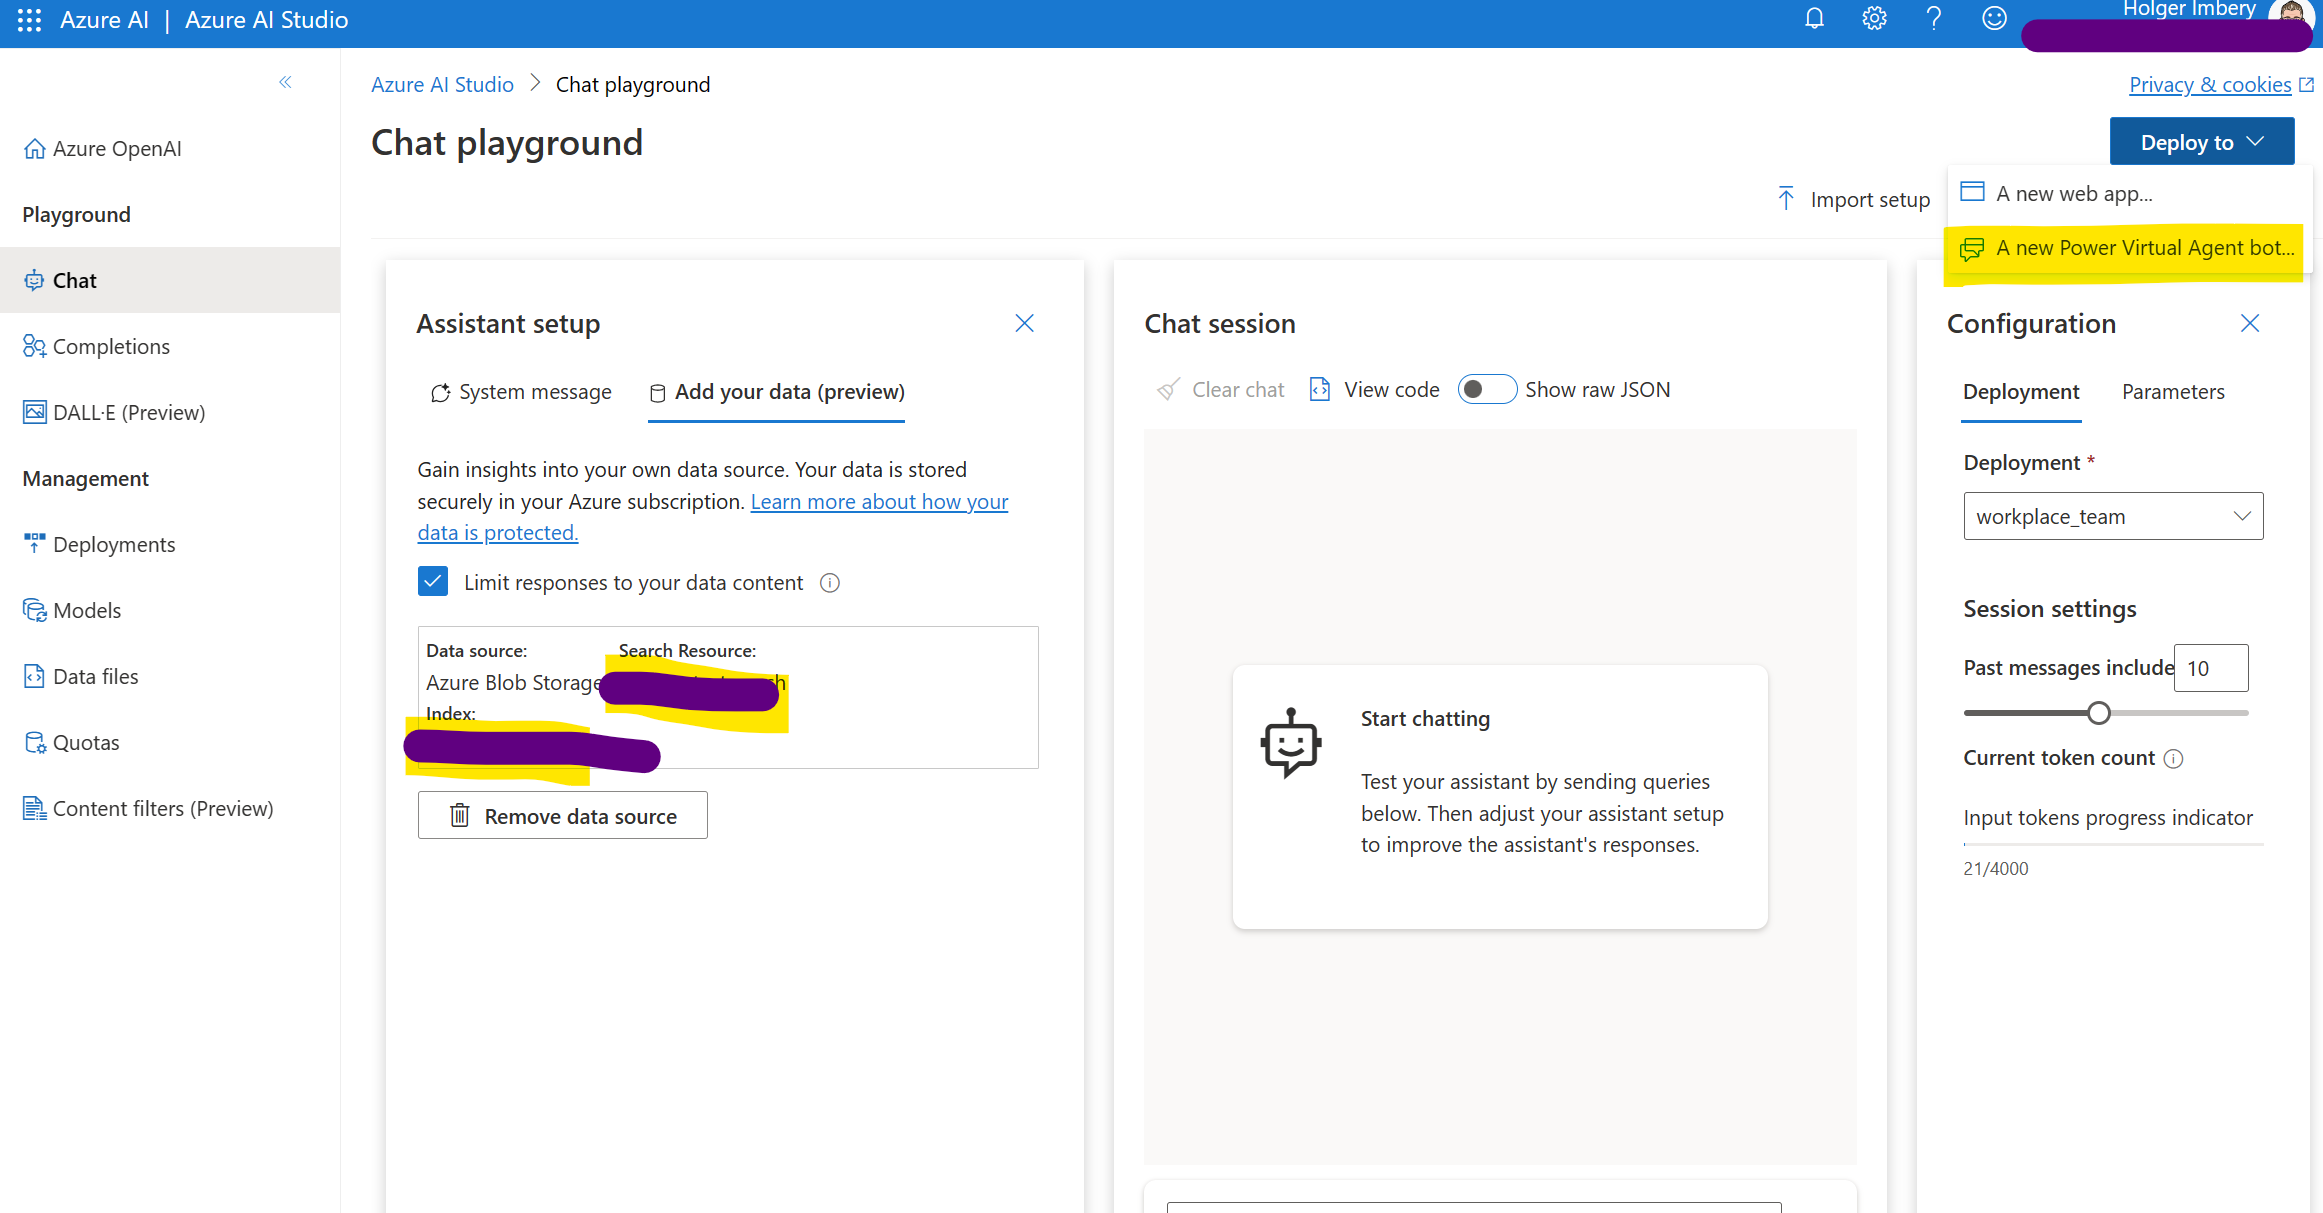
Choose “Chat” in the “Playground” and “Add own Data” utilizing the resources we already created in the step before (part 2 of this series)
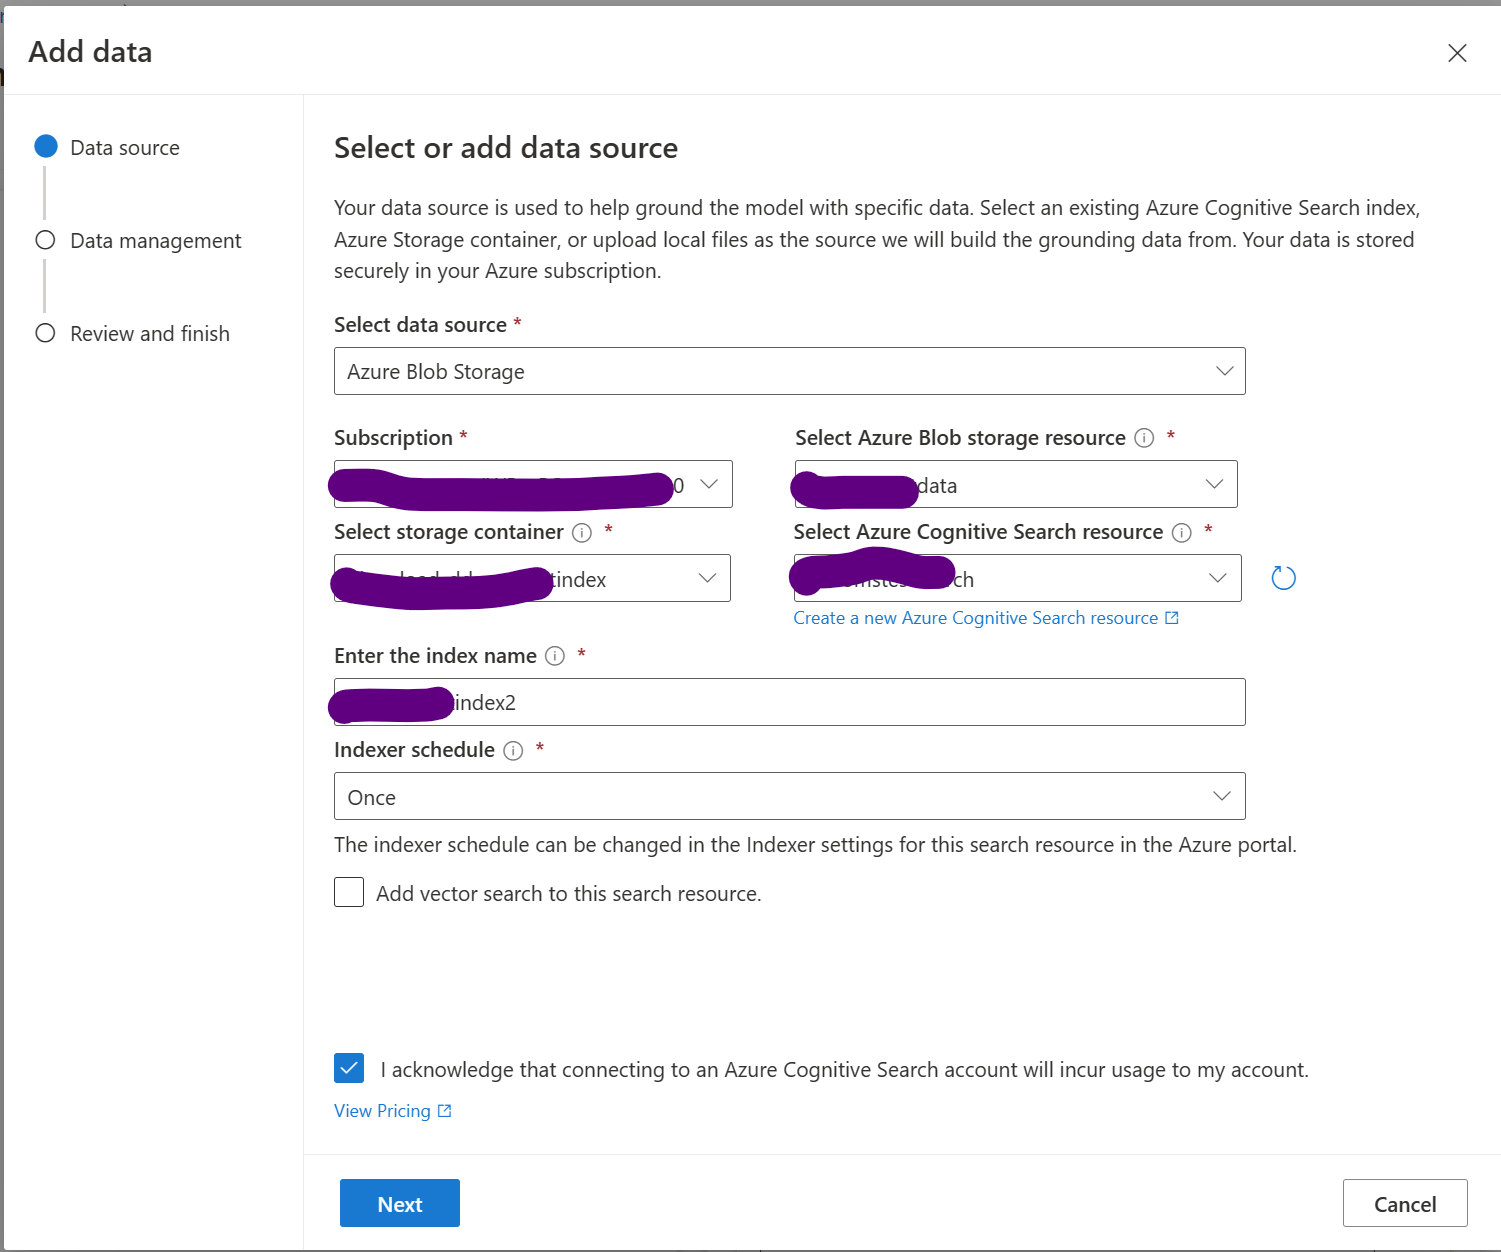
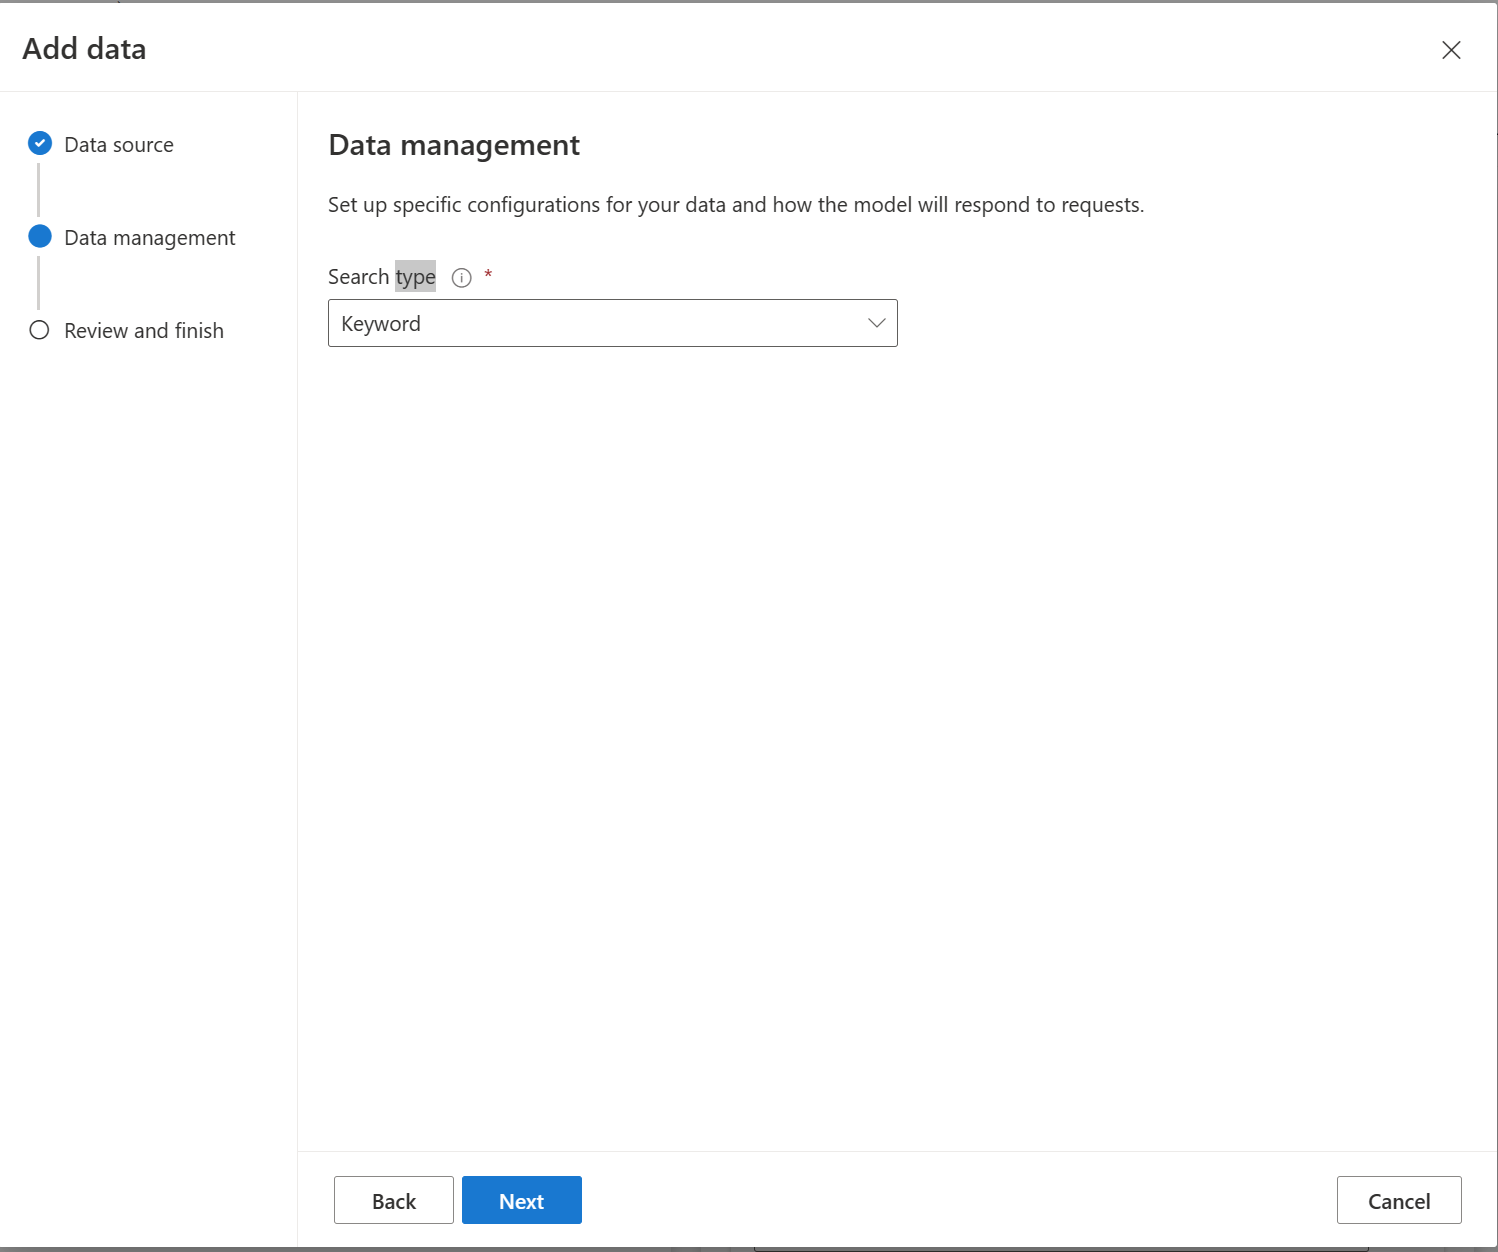
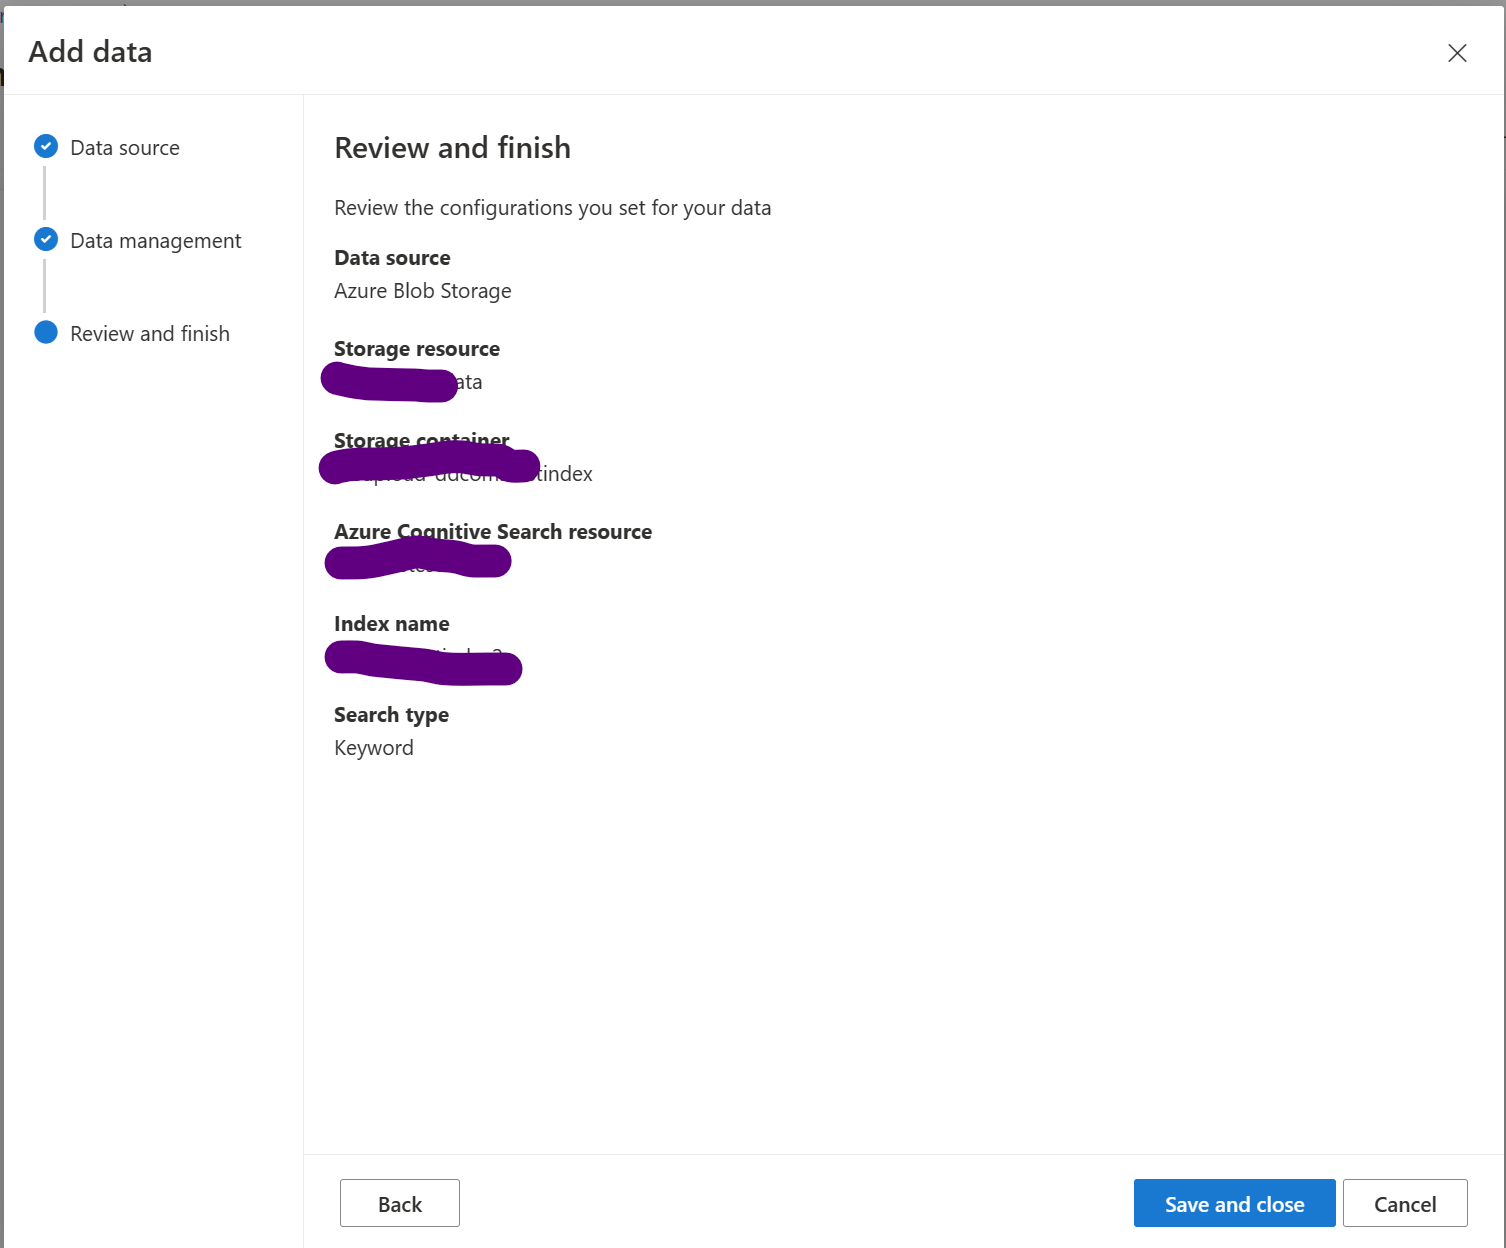
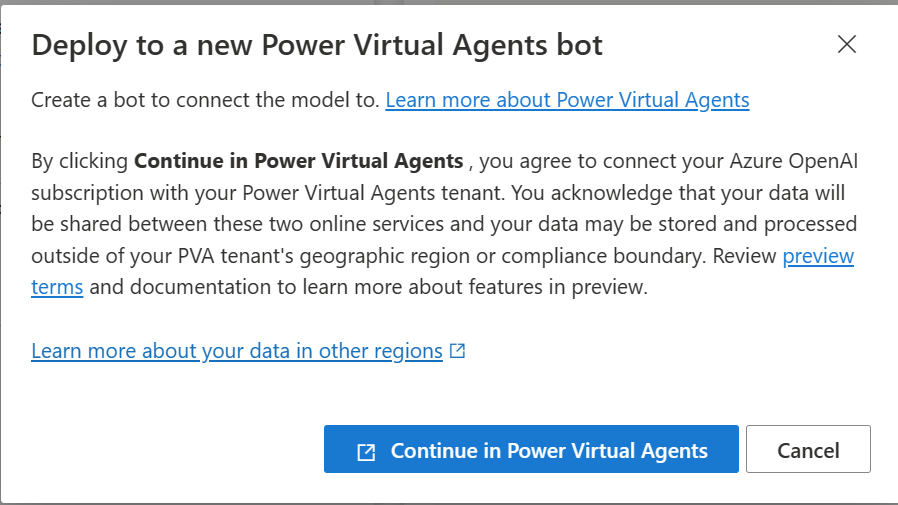
- and then we click on “Deploy to” and choose “A new Power Virtual Agent bot”
- We give our consent by clicking “Continue in Power Virtual Agents”
Note
Deploying to Power Virtual Agents from Azure OpenAI is only available to US regions.
Work with the newly created bot
A conversational boosting system topic is automatically generated when the bot is created using Azure OpenAI Studio.
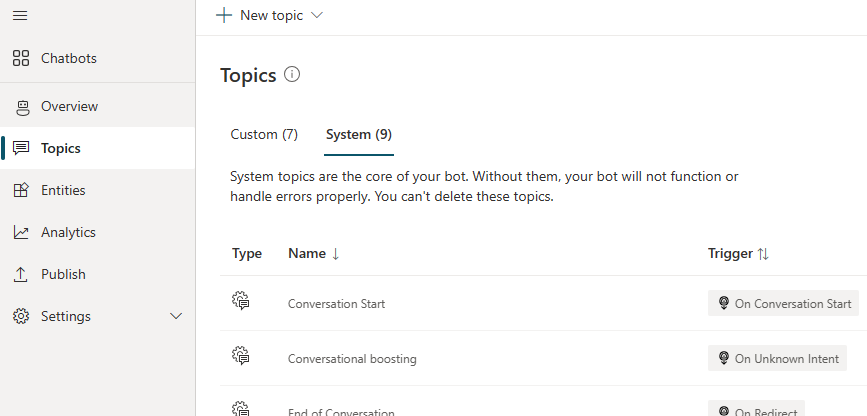
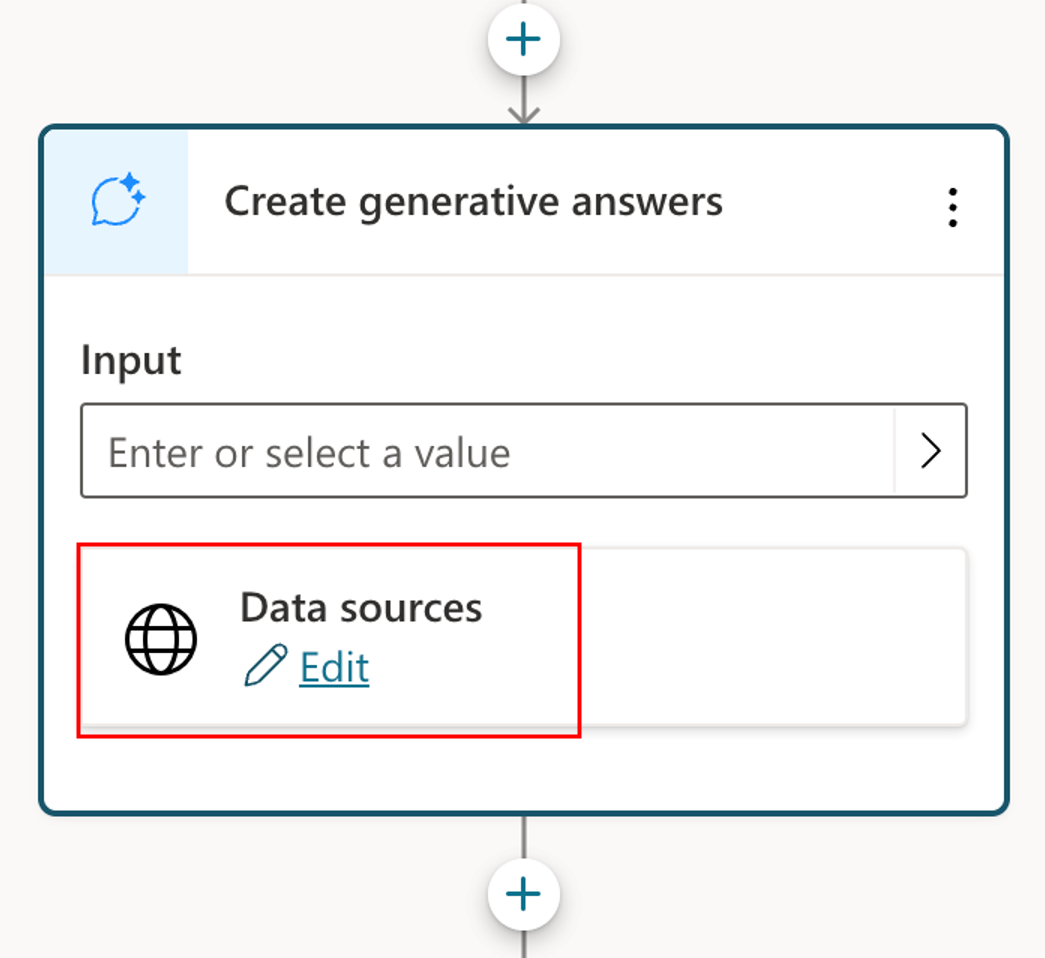
In Power Virtual Agents, open the Data Source Configuration panel for your topic’s generative answers node:
Open the Properties panel for the Create Generative Answers node and select Data Source.
On the Create Generative Answers node, select Edit under Data Sources.
Edit the connection to the Azure OpenAI Service.
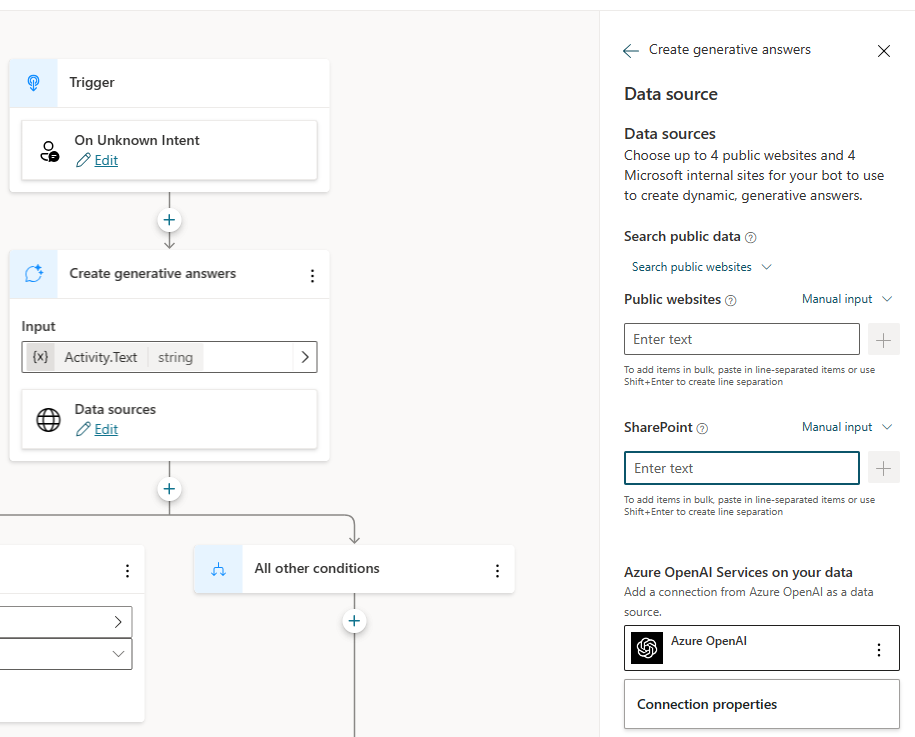
Once you have finished entering sources, close the menu. Be sure to save any changes made to your topic.
The topic will now generate answers based on the information sources defined by your Azure OpenAI connection. You can add more nodes to the topic and work with the answers generated by the Azure OpenAI Connection. You might consider using the output in conjunction with a Power Automate Flow to perform actions such as sending emails, updating records, and so on.
The information sources specified in the Generative Answers node will take precedence over those defined at the bot level, which will then serve as a fallback.
Conclusion
Integrating your “ownGPT” with Power Virtual Agents allows you to create a tailored chatbot experience using your data and resources. By deploying your model directly from Azure OpenAI Studio, you can provide conversational experiences across various channels and platforms. With the addition of Power Automate, you can further enhance your chatbot’s capabilities by automating tasks and actions based on the generated responses.


Start the conversation